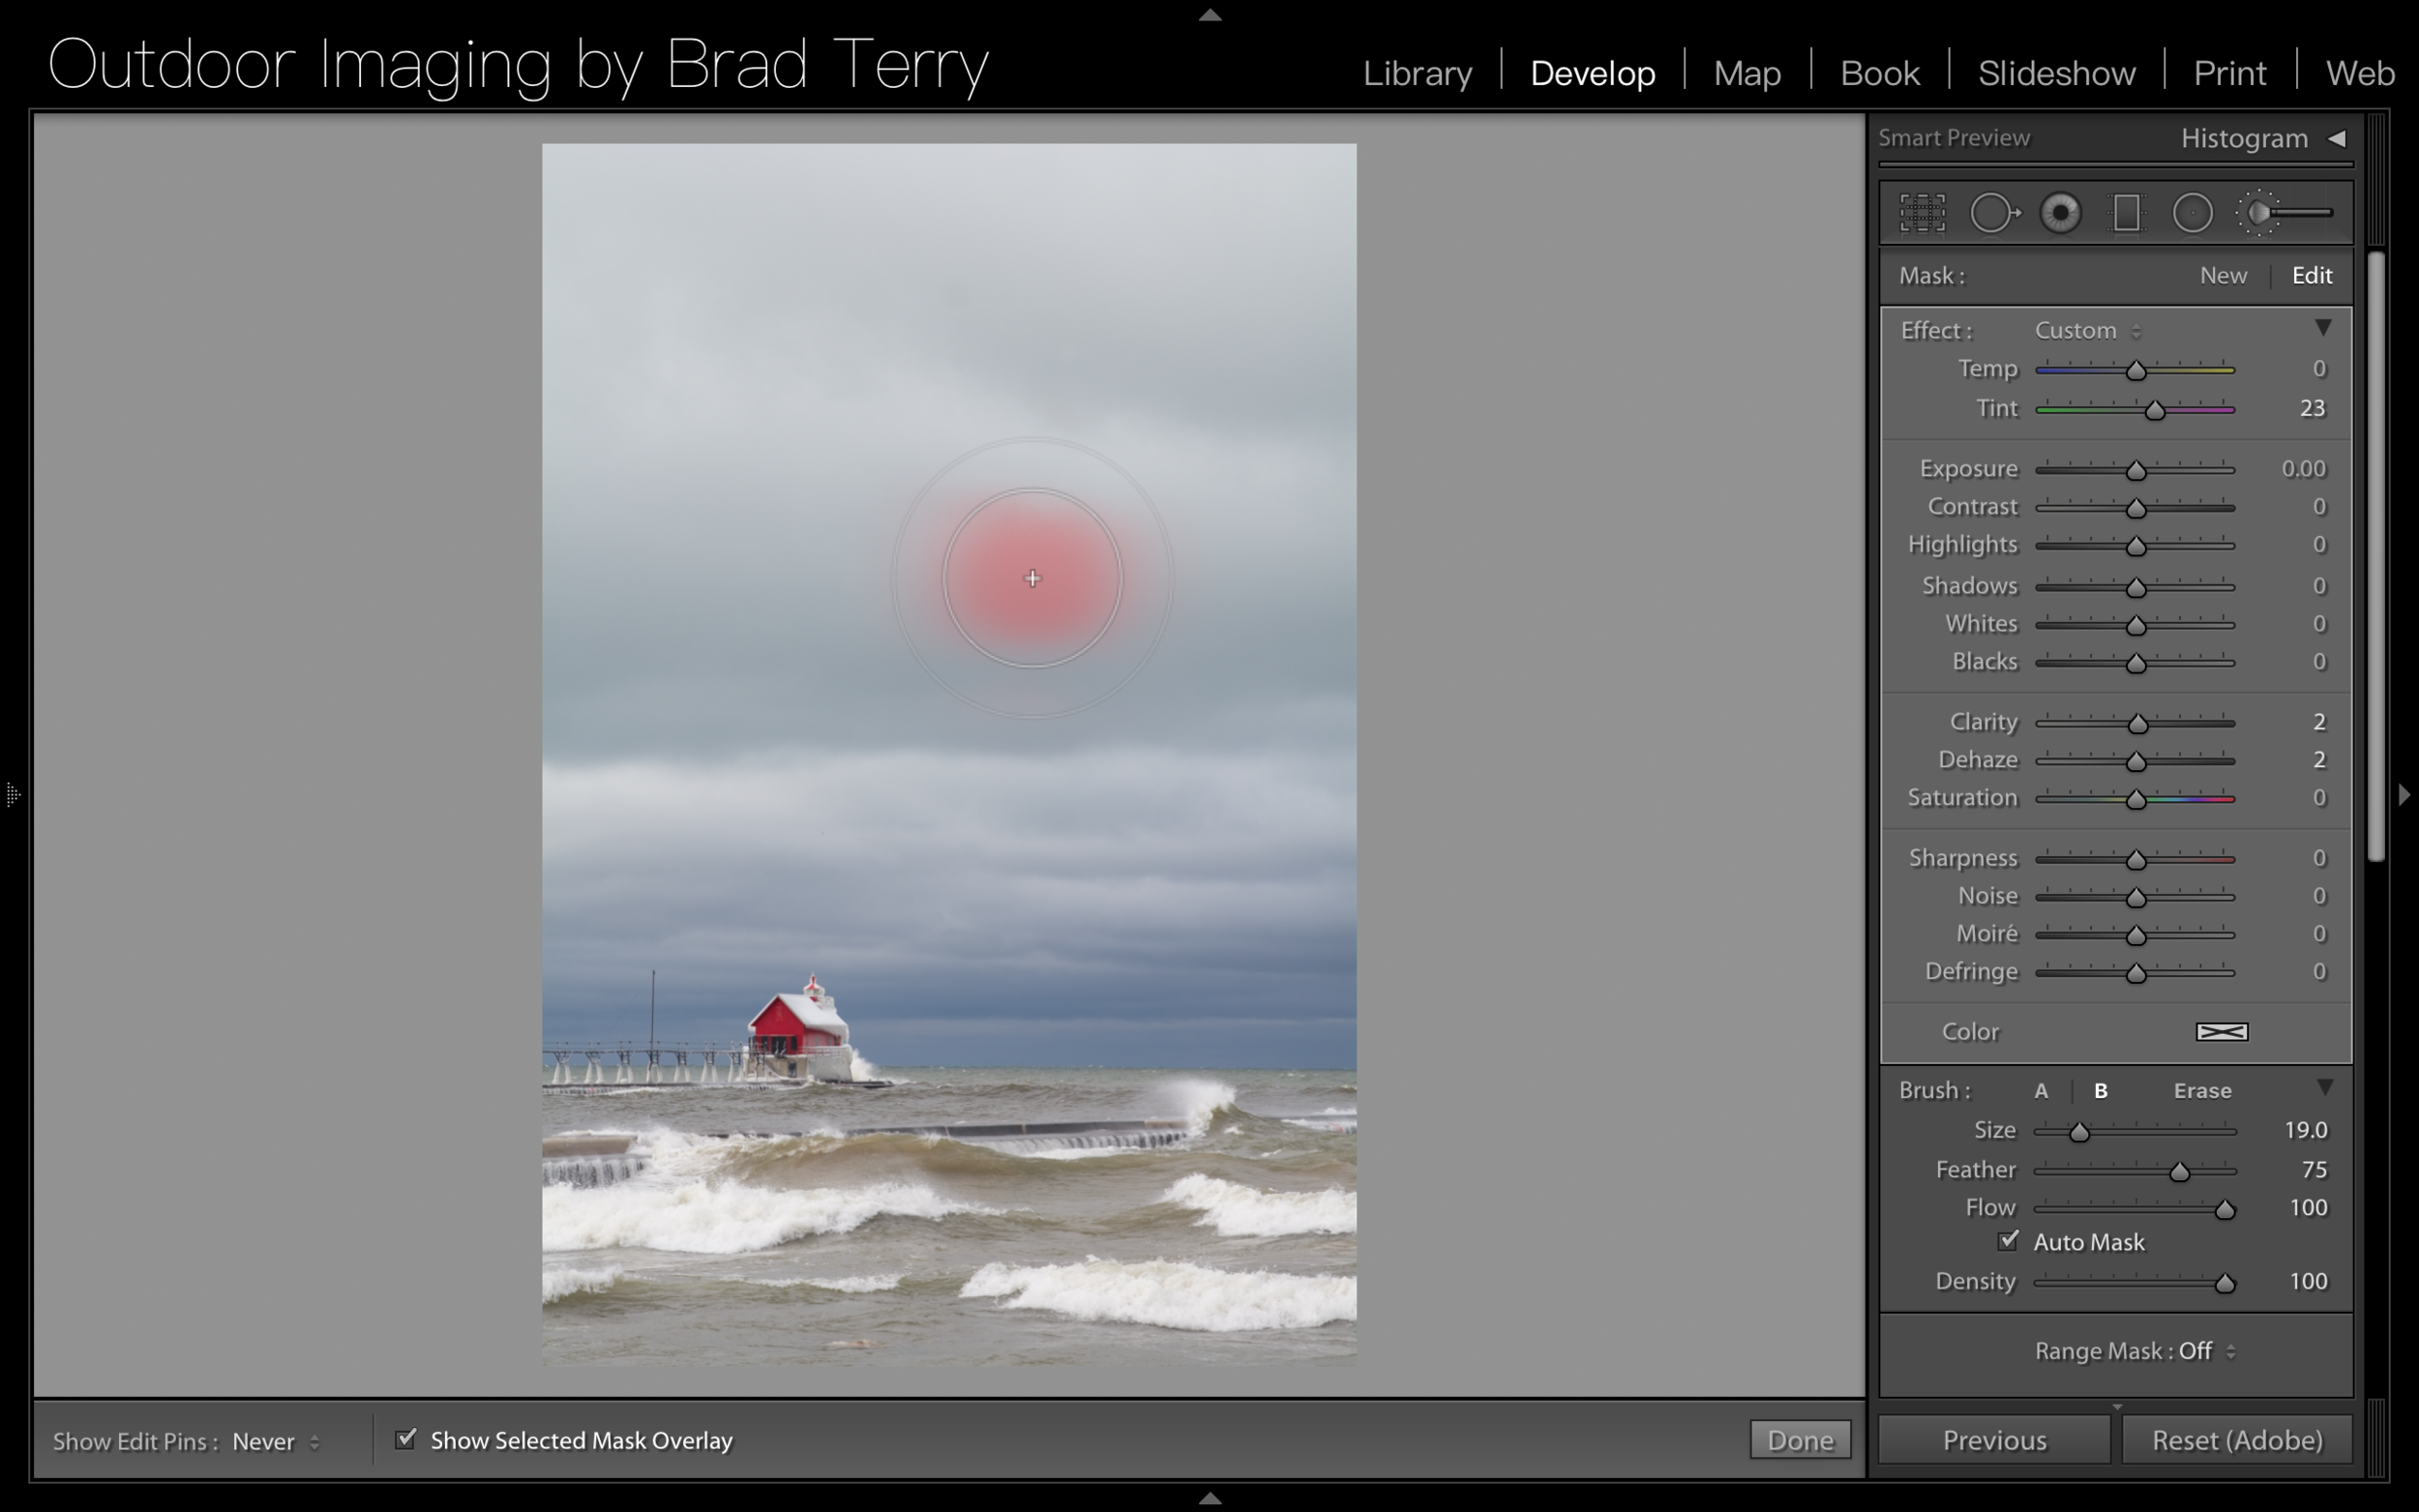
The Develop Module has 6 different tools with which to adjust your images. They are the Crop Tool(R), the Clone and Heal Tool(Q), the Redeye Correction Tool, the Graduated Filter (M), the Radial Filter (Shift + M) and the Adjustment Brush(K). These Tools are docked just below the Histogram and excluding the Redeye Correction Tool, they all have there own Keyboard Shortcuts. And that marks the 34,228th time I have mentioned Keyboard Shortcuts so hopefully y'all are starting to understand that they are important and amazing and will save you time!! So this post is meant to get you introduced to the different Tools and they will be covered, in greater detail, in future Video Tutorials. So let's do a quick rundown.
Crop/Straighten Tool
The Crop Tool(R) is the first tool on the left and we have discussed this tool quite extensively already via a recent Video Tutorial and a couple Quick Tip Videos. With the Crop Tool you can set the Aspect Ratio (2:3, 1:1, 5:7, etc) and straighten the image as well. If you want your Aspect Ratio to remain locked be sure to have the padlock in the closed position. You can use the Auto Straighten, Level Tool or Straighten Slider to adjust the angle of your image.
Clone/Heal Tool
Next up is the Clone/Heal Tool(Q). This is the tool that will help you remove any unwanted spots in your image. By selecting Clone and clicking on an unwanted spot in your image, Lightroom will select a similar area in your image and essentially copy and paste that spot over the area that you selected. So what's Heal? Heal is basically the same as Clone with the difference being that Lightroom analyzes the spot you selected and creates a composite of similar pixels then places those in your selected spot. So which should you choose? And per usual the answer is it depends. You will run into situations where Clone works better than Heal and vice versa. For me Heal usually works the best and that's the option that I start with. (Don't forget to tap the "A" key on your keyboard to enter "Visualize Spots Mode" to see all the imperfections in your image)
Redeye Removal Tool
Moving to the right, we have the Redeye Removal Tool. This tool, not surprisingly, removes the red reflex effect that we sometimes get when a flash is directed right at the person in our image. This tool can also be used in Pet Eye mode to remove the greenish cast that can occur in animals eyes when creating a photograph. This tool very easy to use as you simply use your cursor to select the area and then Lightroom does the rest! You can move the "spot" that Lightroom creates by grabbing the area with your cursor and dragging it to a better position if needed.
After the Redeye Removal Tool we start getting into the Adjustment Tools and I am just going to group these all together in this post because they have the same core adjustments - exposure, color, etc. - just different ways of getting to those adjustments. First we have the Graduated Filter (M), followed by the Radial Filter (Shift + M) and then the Adjustment Brush (K). When you activate one of these tools a variety of develop options appears and you can select the develop options before you use the tool or adjust/readjust after you have made your "mask" with the tool.
The Graduated Filter creates a transition effect when you click your cursor and drag until you let go. So if you click and drag from the bottom to top, letting go at the top, you will get a soft graduated effect. If you click and drag a shorter span you will get a more defined or harsh effect. The Radial Filter creates an ovular (or perfect circle if you hold the shift key while placing it) mask and applies the develop effect outside of the oval. You can click the "invert" button to make the adjustment occur on the inside of Radial Tool "mask". Finally, there is the Adjustment Brush Tool. This is just as it sounds, a brush tool that allows you to "paint" develop setting onto your image.
You can feel free to give all of these tools a try without consequence because, of course, Lightroom is non-destructive. So give 'em a try and mess around and remember we'll be going into more detail in future videos. For now I just wanted to give you a quick overview.


